To upgrade any SAP system, we need to create a stack file. SUM uses this file to upgrade the system. SAP provides a tool named “Maintenance planner” to plan any kind of upgrade.
Let’s go through all the steps in detail.
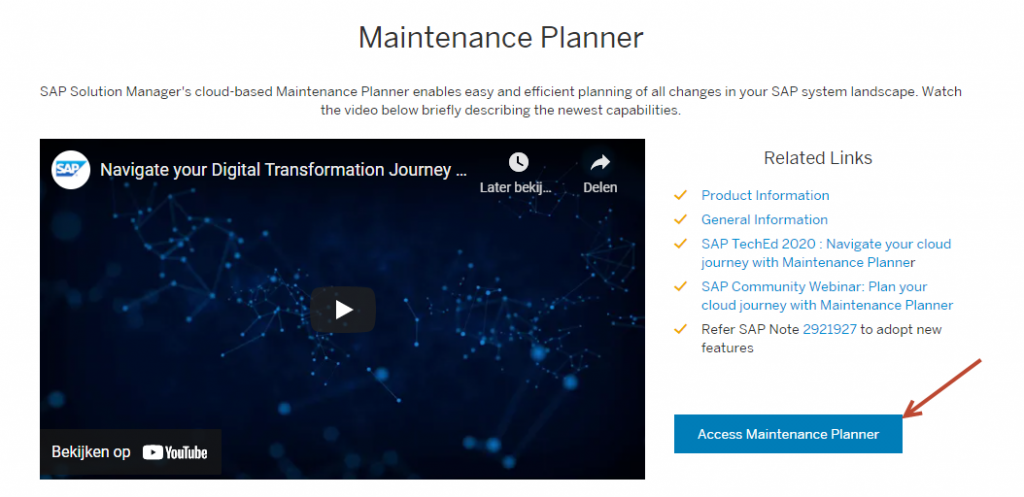
First, open Maintenance Planner and click on “Access Maintenance Planner”.
Enter your S-user id credentials.
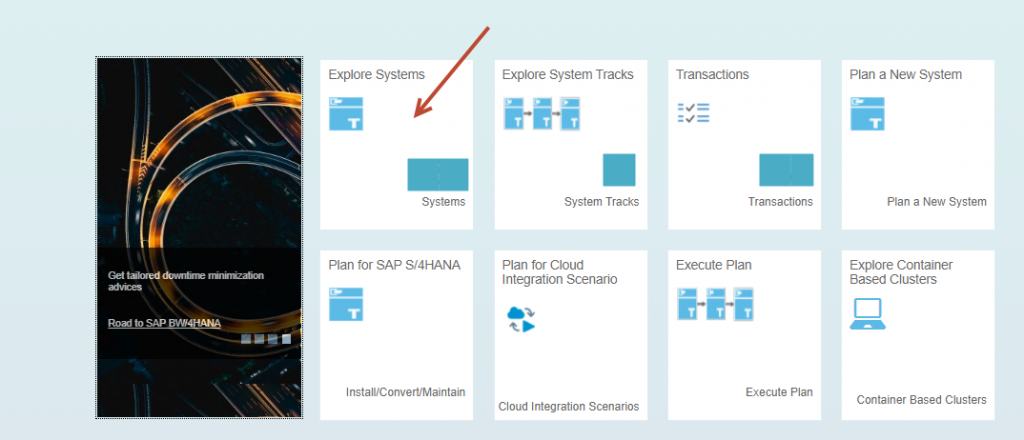
Click on “Explore Systems” and select the system for which you want to plan an upgrade
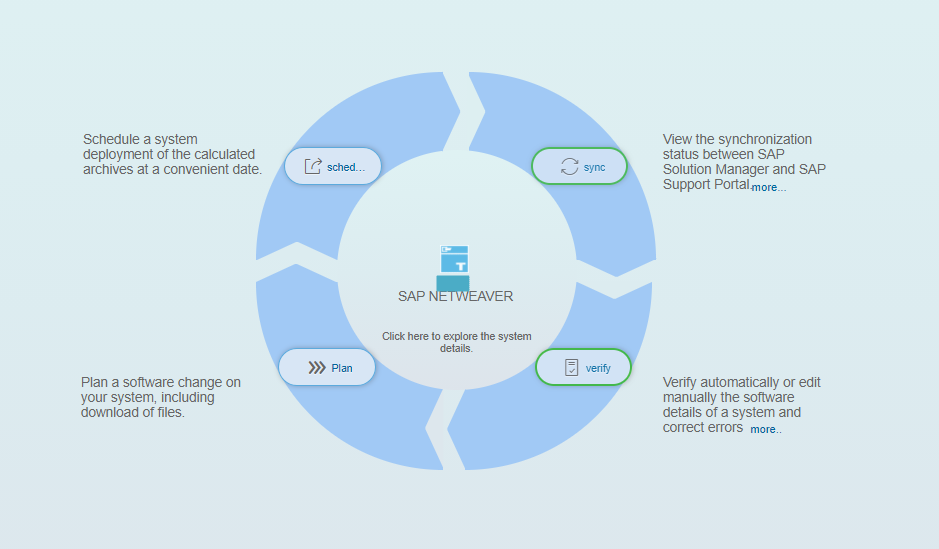
“Sync” and “verify” should already be highlighted in green. If yes, then click on “Plan”.

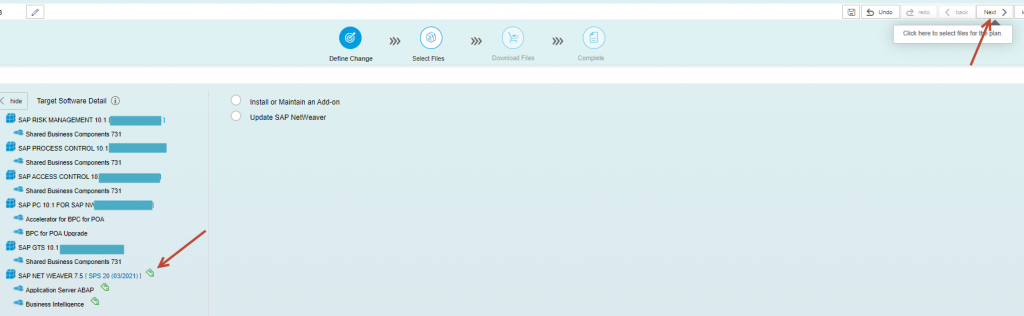
Now depending on the type of upgrade, you can select any of the below options. For example, if you are planning a NetWeaver update, select the “Update SAP NetWeaver” option.
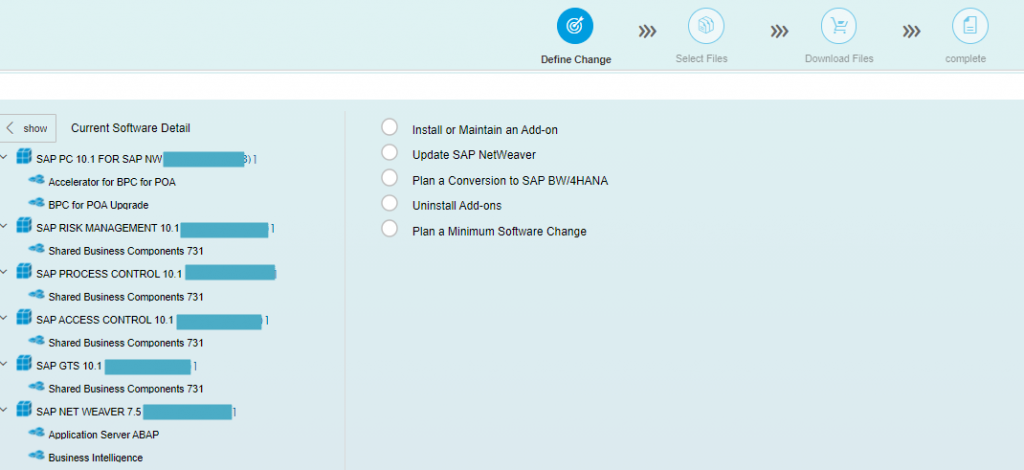
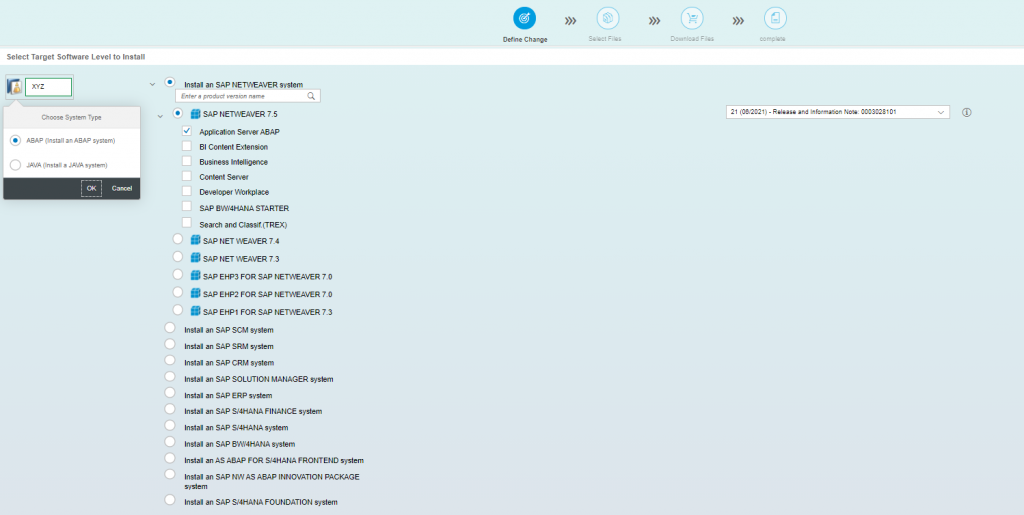
Then select the required product version and on the right-hand side, you will see the available release version. In the below example, We have selected SAP NetWeaver 7.5 and we want to upgrade it to SP20. Then click on “Confirm Selection”.

On the next screen, you will see the components which will get upgraded.
In the below screen, select the OS/DB-dependent files. This will download the related Kernel files for that respective DB.
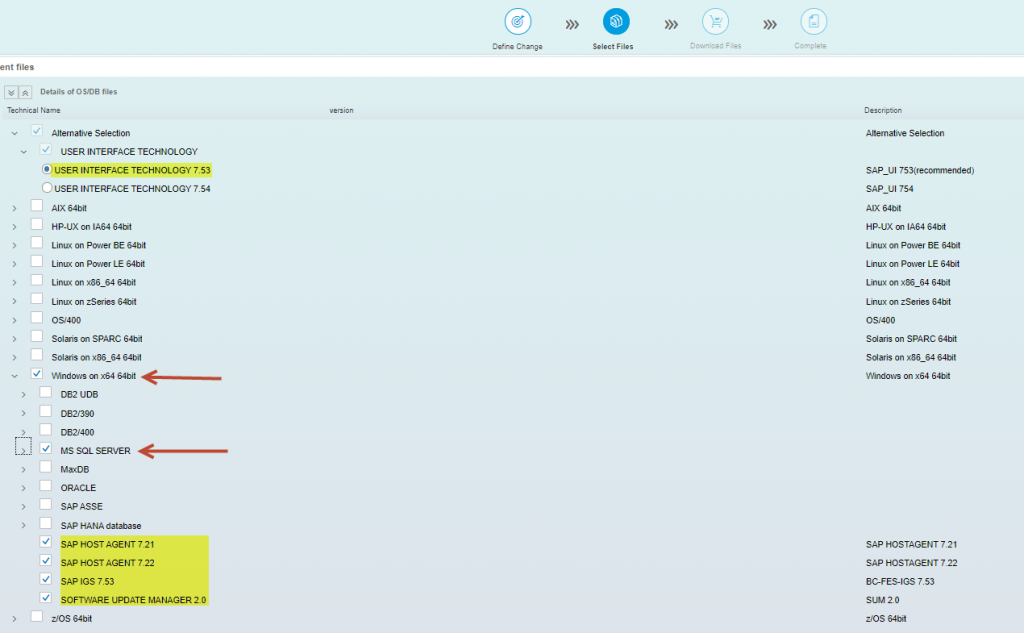
On the next screen, Select all the stack-related files which include ABAP as well as Non-ABAP files.

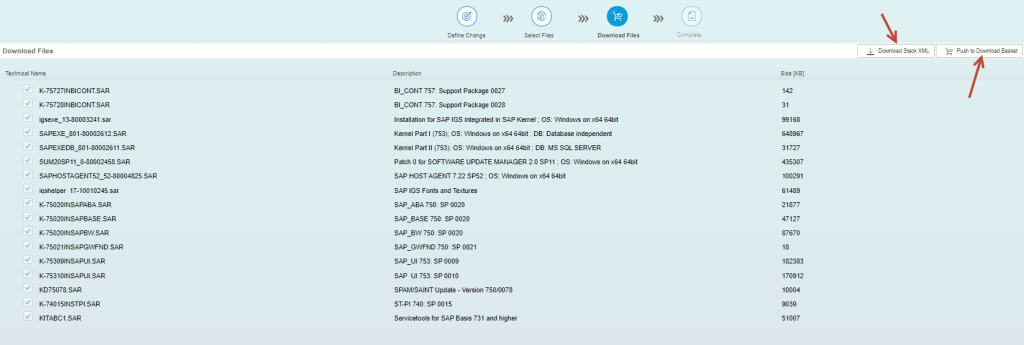
Verify the files and Download the stack XML file. Also to download these files, click on “Push to Download Basket”. So that, we can later download these files on the server using Software Download Manager.
Click Next and Save your plan (also known as a transaction). We can check this plan/transaction later by clicking on “Transactions” on the home page.
How to delete an old transaction/plan?
Under “Transactions”, you can select the old transactions and click on the “delete transaction” button in the top right corner.

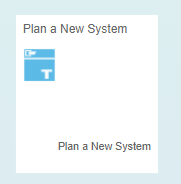
How to plan a new system using the SAP Maintenance planner tool?
On the Home screen, we have a tile named as “Plan a New System”. Click on it.
Provide the SID of the new system, and also mention whether it’s an ABAP or Java system. Then depending on the requirement, select the product to be installed. Then click Next and follow the same steps as mentioned above.
Pingback: How to upgrade SAP ABAP system using SUM? - SAPissues.com